




how to put together/change the blade of your safety razor
This process is simple, but if you’ve never done it before, it’s not always immediately obvious.
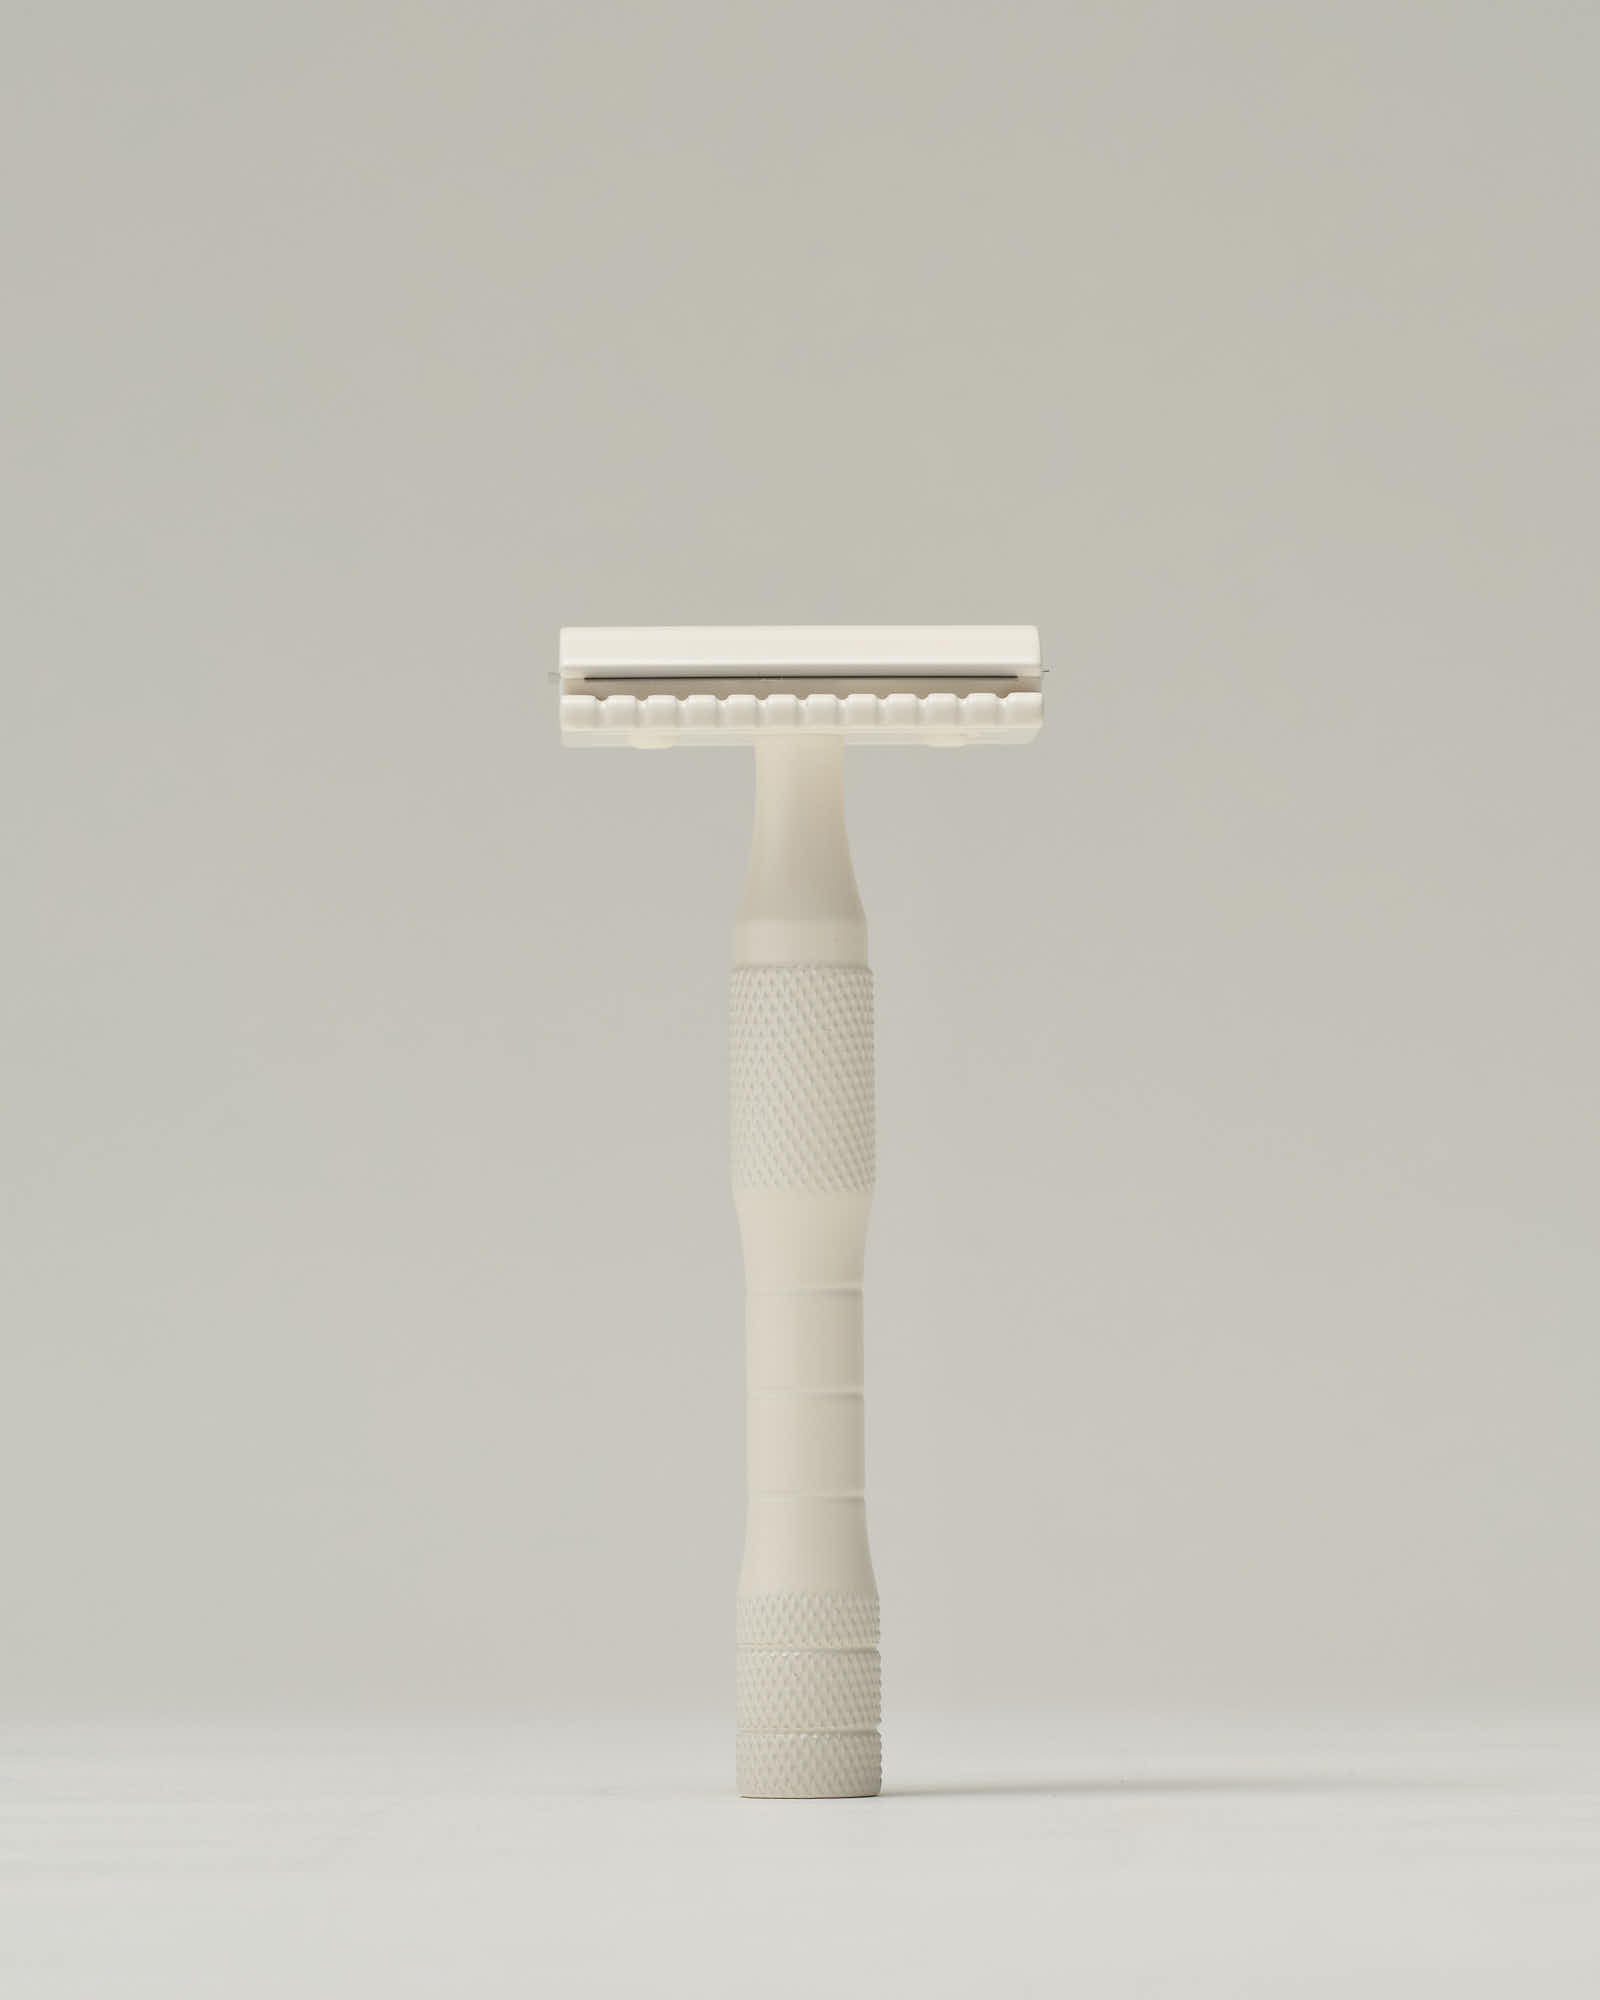
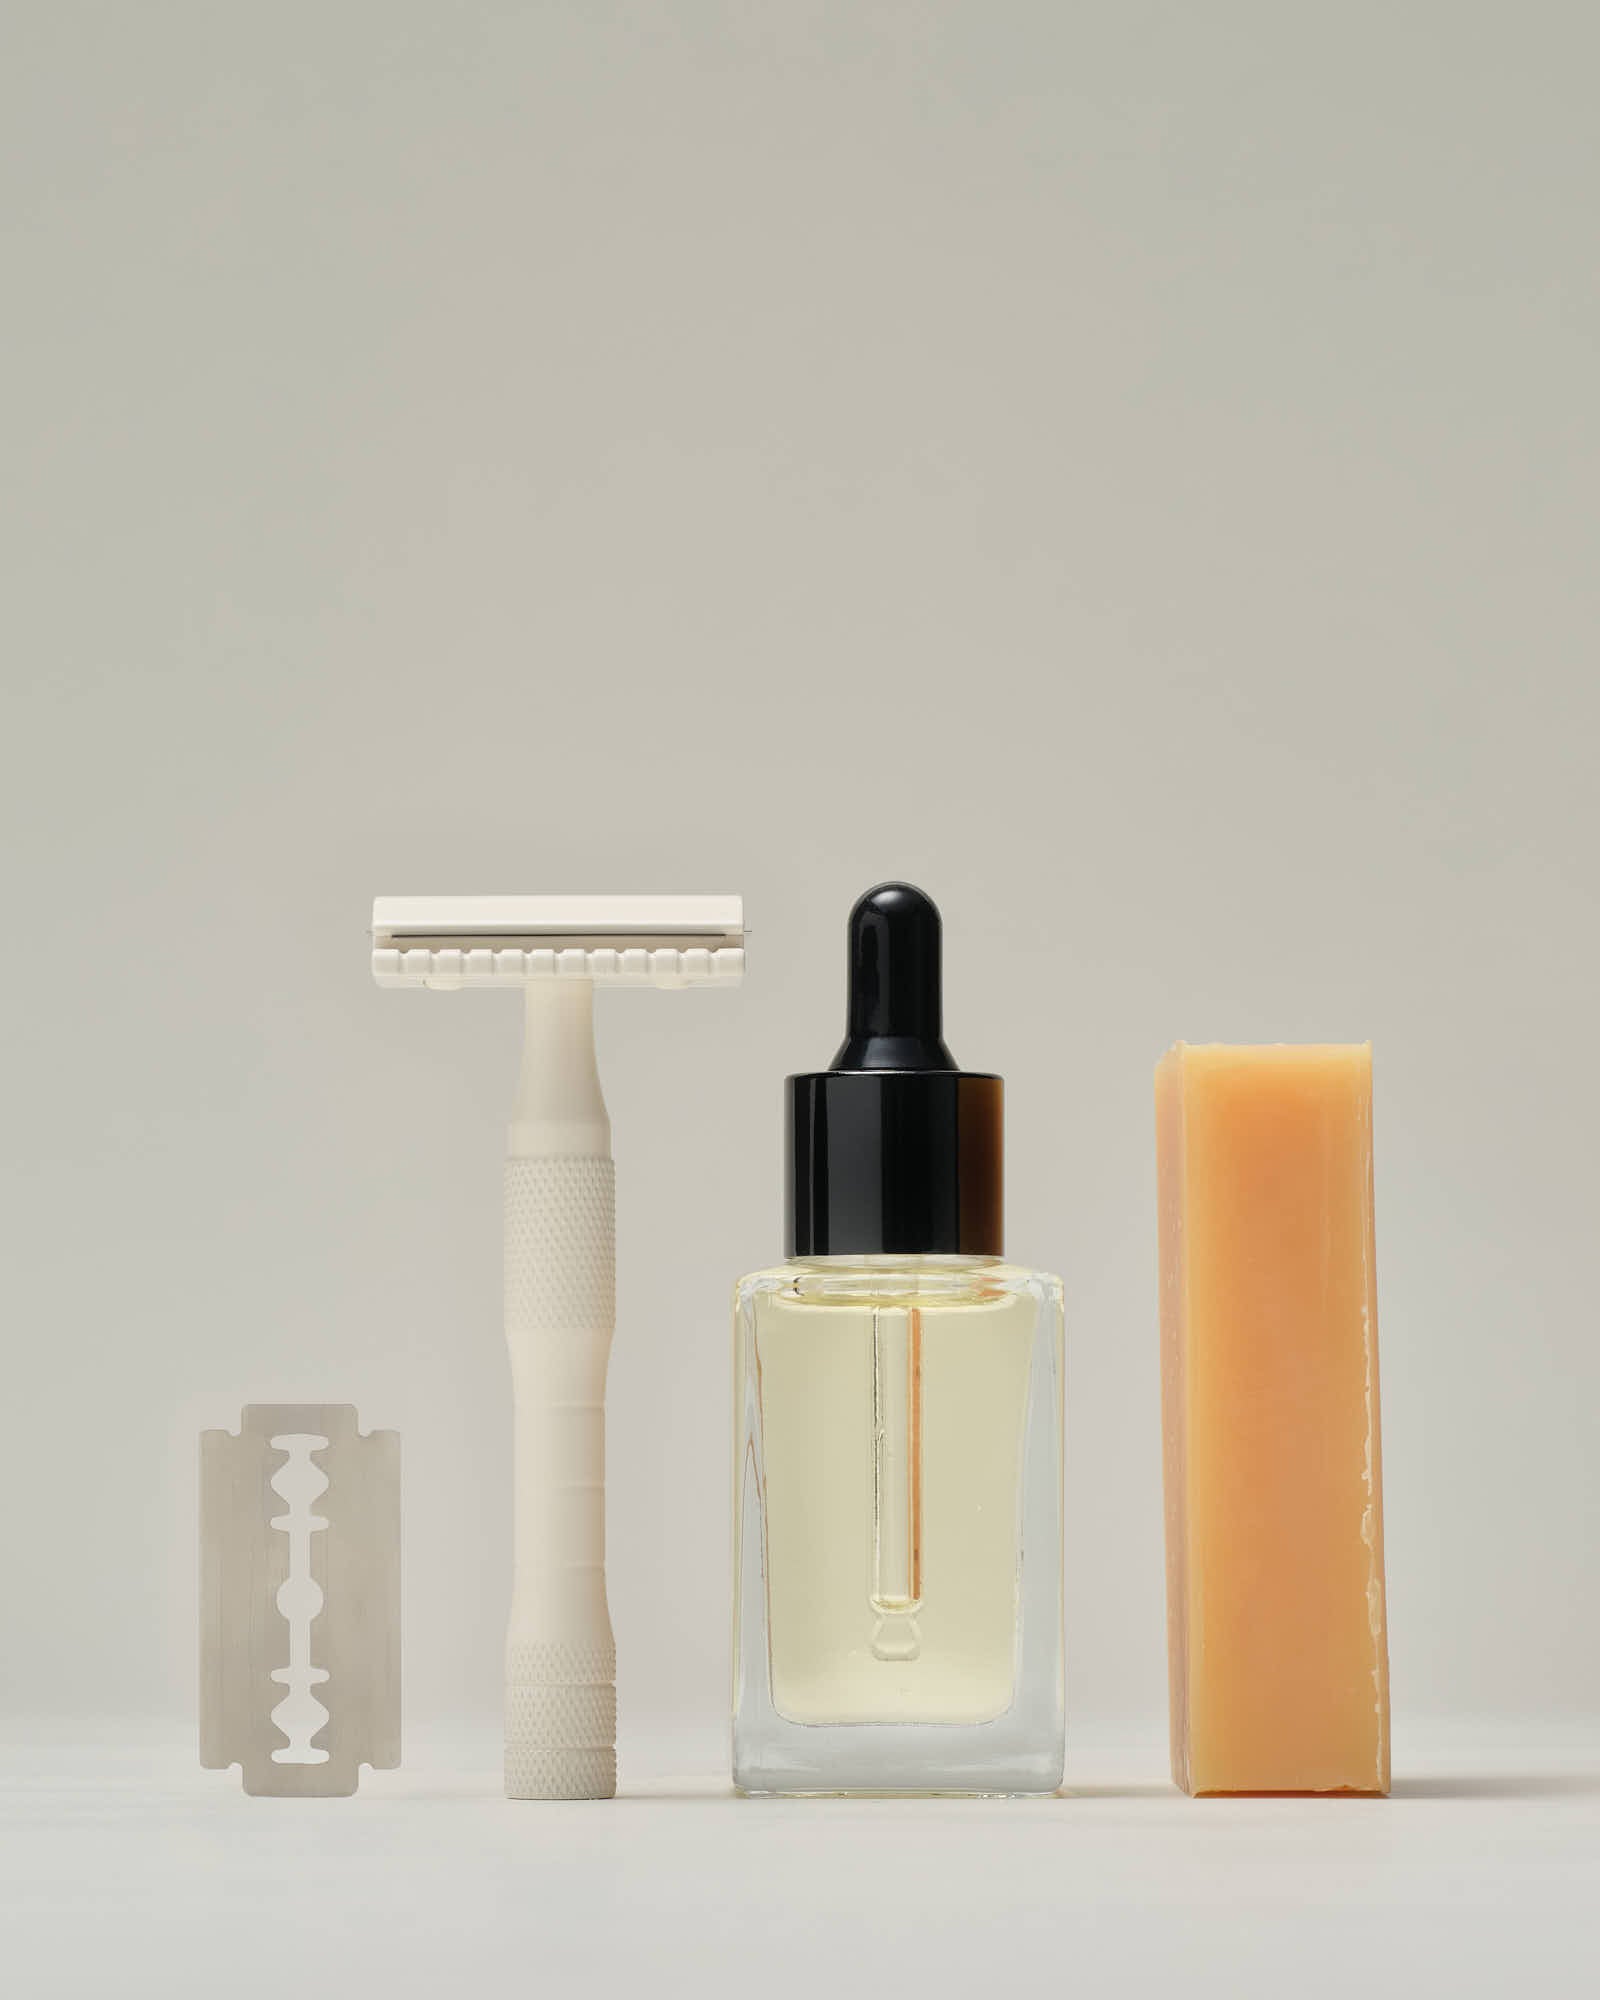
Your solid brass razor is made up of three parts, plus the blade (four pieces in total). We recommend assembling or changing your blade before you shower, with dry hands, to make things easier and safer.

Changing the blade
Hold the handle in one hand and the head of the razor in the other. Grip the head from the top and bottom—avoiding the sides where the blade is exposed.
Unscrew the handle and gently separate all parts. We recommend placing them on a small towel so nothing rolls away (this sounds minor, but it makes a difference).
If you’re replacing a used blade, this is a good time to rinse all parts. If you’ve been using shave oil, warm soapy water (a small amount of dish soap works well) will remove any residue.

Reassembling your razor
Place the top cap (piece 1) down first.
Carefully place the blade on top of the cap, aligning the holes with the posts.
Place the base plate (piece 3) on top of the blade, with the ridged/spacer side facing down toward the blade.
*Important: If this piece is flipped incorrectly, the blade will not be exposed properly and the razor will not cut.
While holding the head steady from the top and bottom (not the sides), screw the handle back on until snug. Do not overtighten.
You may notice the blade flex slightly once tightened—this is normal.
Before you shave
Double-check that:
- The ridged side of the base plate is facing the blade
- The blade is evenly aligned on the posts
- The handle is snug, but not forced tight
Watch the setup video
Watch the how-to video here.
Troubleshooting
If your razor doesn’t seem to be cutting properly, the most common issue is that the base plate has been installed upside down. The blade should always be facing outward toward the skin.

You’re ready
Your razor is now ready to use.
For more guidance on shaving technique, you can explore our shaving instructions here.
And if you need more tips on how to shave with your razor we have those all here.
Bestsellers
Thoughtfully made products people return to
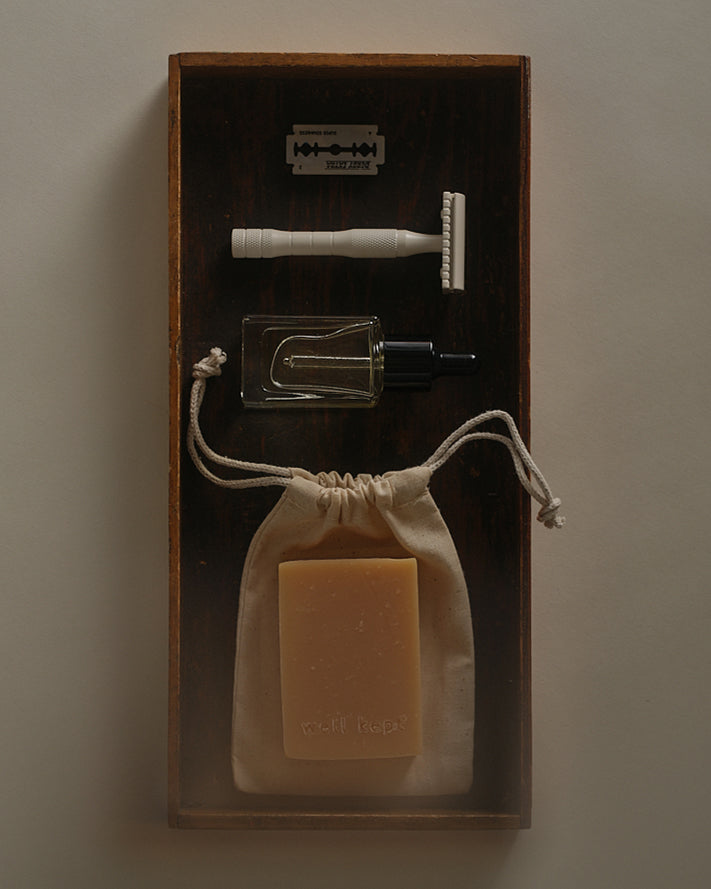
Discover your best shave. Reduce Irritation. Shaving Essentials.
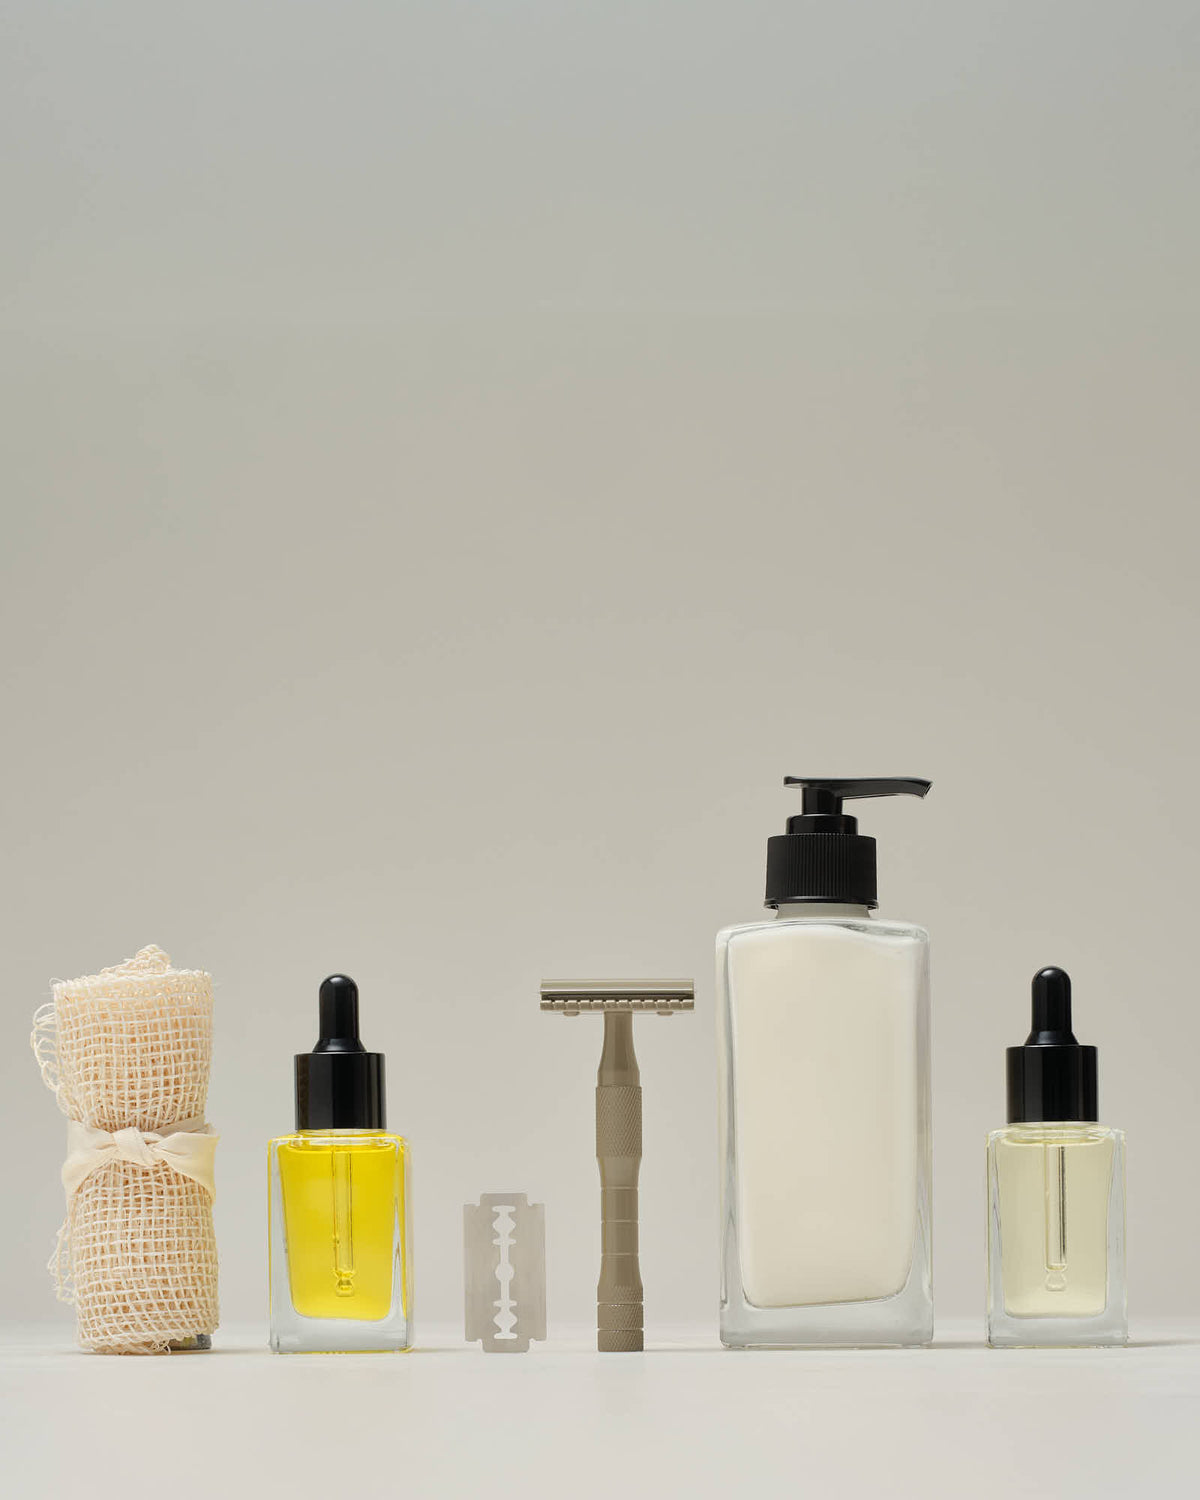
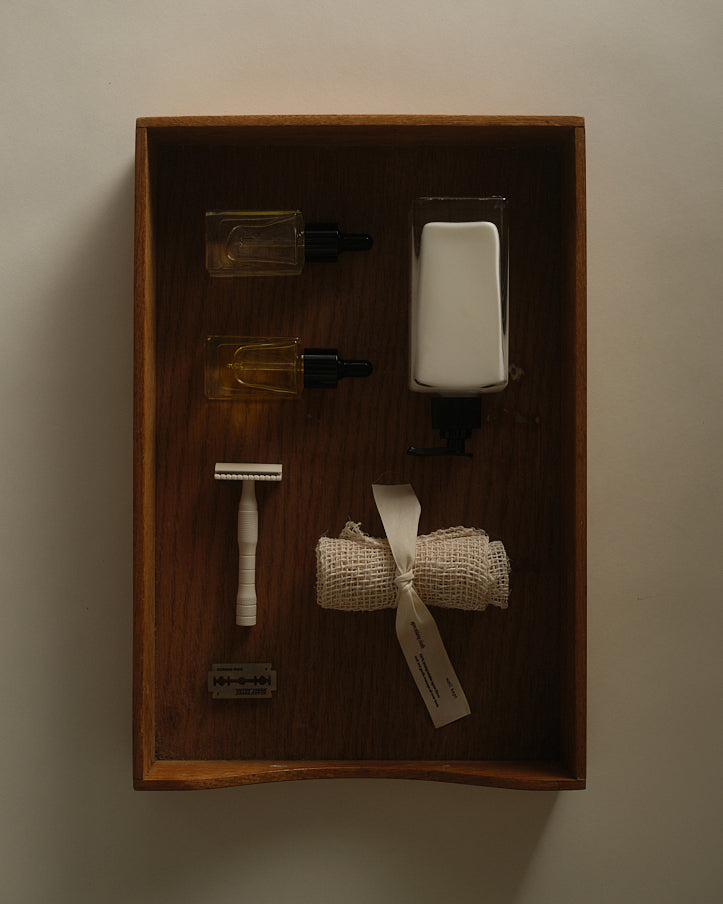
Your Best Shave. Sustainably Made. Complete Shaving Ritual.




.%20We%20recommen...)
Naturally Derived. Layers of Bubbles. Gentle on Skin.